

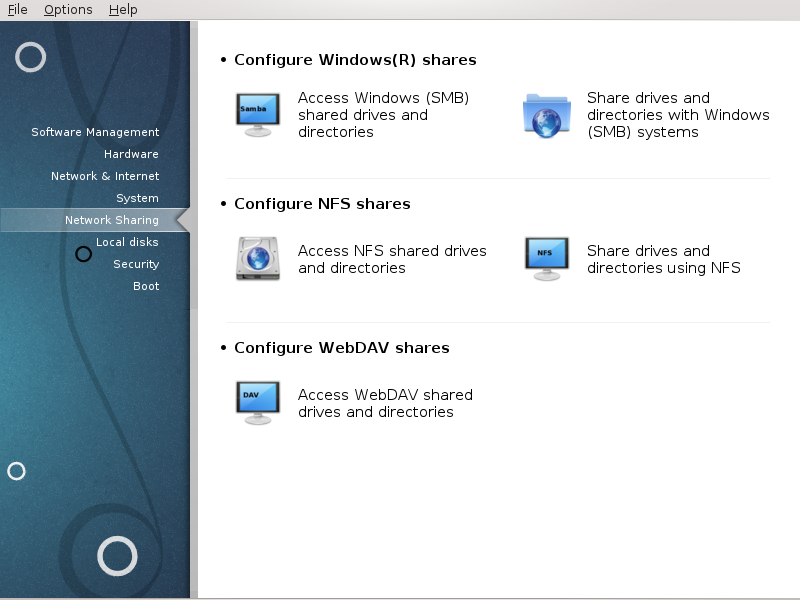
In questa schermata puoi scegliere tra diversi strumenti per condividere i drivers e le directories. Clicca sul link seguente per saperne di più.
Configura le condivisioni con Windows(R)
la sezione chiamata «Accedi a dischi e cartelle condivise con Windows (SMB)»
la sezione chiamata «Share directories and drives with Samba» = Share drives and directories with Windows (SMB) systems
Configura le condivisioni WebDAV
This tool[35] allows you to declare which shared directories to be accessible to all users on the machine. The protocol used for this is SMB which has been popularized on Windows(R) systems. The shared directory will be available directly at boot. Shared directories can be also accessed directly in a single session by a user with tools such as file browsers.
Prima di avviare l'opzione, è una buona idea di dichiarare il nome del server disponibile, per esempio la sezione chiamata «Descrizioni degli host»
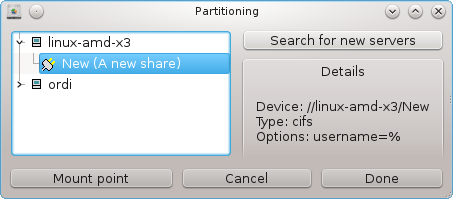
Seleziona per ottenere una lista dei server che condividono cartelle.
Click on the server name and on > before the server name to display the list of the shared directories and select the directory you want to access.
The button will become available, you have to specify where to mount the directory.
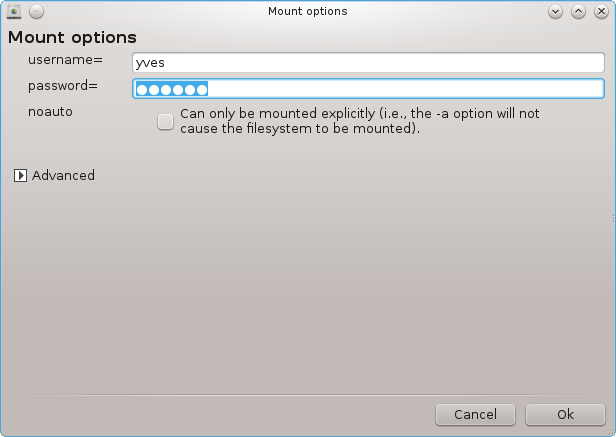
After choosing the mount point, it can be mounted with the . You can also verify and change some options with the button.
In options, you can specify the user name and the password of those able to connect to the SMB server. After mounting the directory, you can unmount it with the same button.

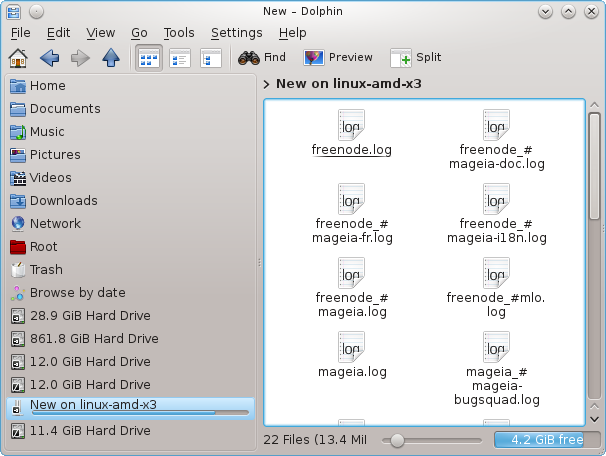
After accepting the configuration with the Done button, a message will ask "Do you want to save the /etc/fstab modifications". Saving, will allow directory to made available at each boot, if the network is accessible. The new directory is then available in your file browser, for example in dolphin.
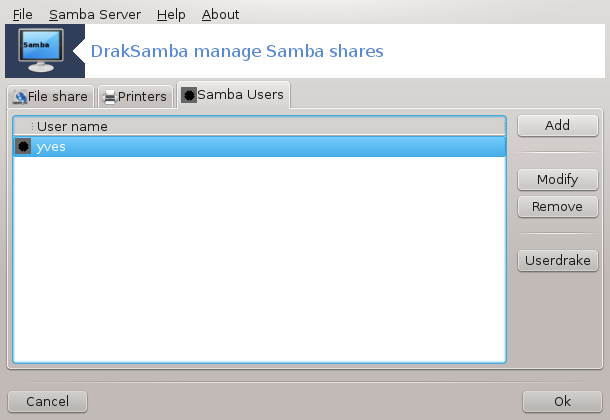
Samba è un protoccolo utilizzato in diversi sistemi operativi per condividere alcune risorse come directories o stampanti. Questo strumento ti permette di configurare la macchina come un server Samba usando il protocollo SMB/CIFS. Questo protocollo è anche usato da Windows(R) e le stazioni di lavoro con questo sistema operativo possono accedere alla risorse del derver Samba.
To be accessed from other workstations, the server has to have a fixed IP address. This can be specified directly on the server, for example with , or at the DHCP server which identifies the station with its MAC-address and give it always the same address. The firewall has also to allow the incoming requests to the Samba server.
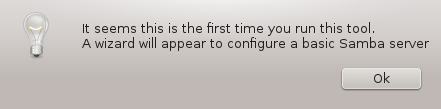
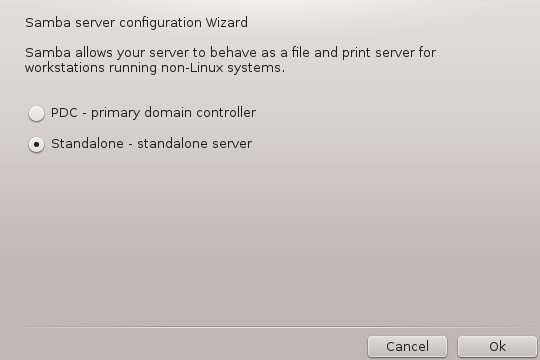
At the first run, the tools [36] checks if needed packages are installed and proposes to install them if they are not yet present. Then the wizard to configure the Samba server is launched.
Nella finestra successiva lìopzione di configuarazione del server autonomo è già selezionata.
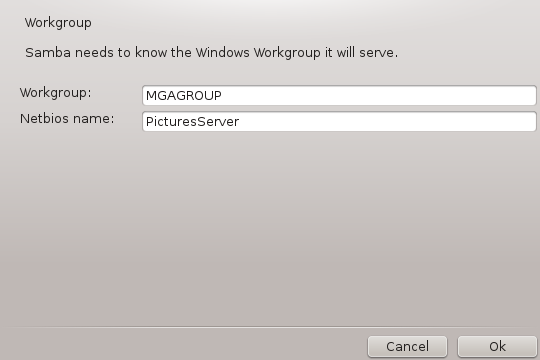
Then specify the name of the workgroup. This name should be the same for the access to the shared resources.
The netbios name is the name which will be used to designate the server on the network.
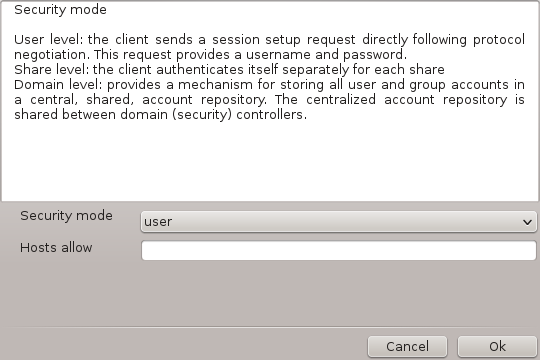
Scegliere la modalità di sicurezza:
user: the client must be authorized to access the resource
share: the client authenticates itself separately for each share
You can specify which hosts are allowed to access the resources, with IP address or host name.
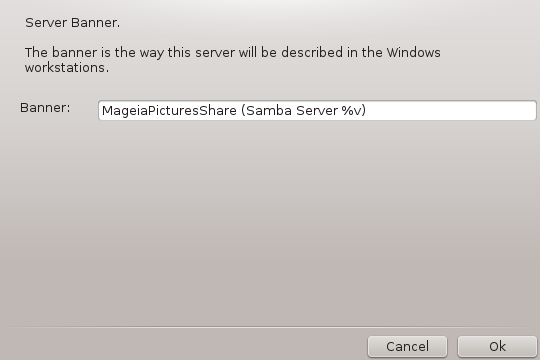
Specify the server banner. The banner is the way this server will be described in the Windows workstations.
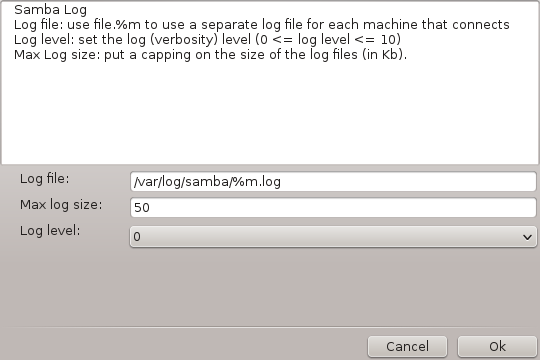
The place where Samba can log information can be specified at the next step.
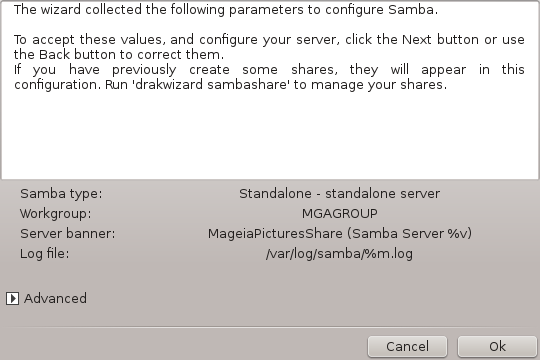
The wizard displays a list of the chosen parameters before you accept the
configuration. When accepted, the configuration will be written in
/etc/samba/smb.conf.
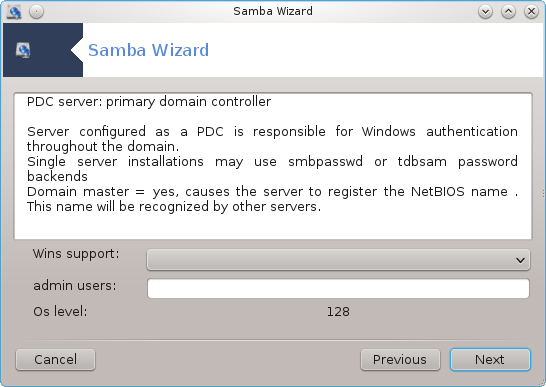
If the "Primary domain controller" option is selected, the wizard asks for indication if Wins is to support or not and to provide admin users names. The following steps are then the same as for standalone server, except you can choose also the security mode:
domain: provides a mechanism for storing all user and group accounts in a central, shared, account repository. The centralized account repository is shared between (security) controllers.
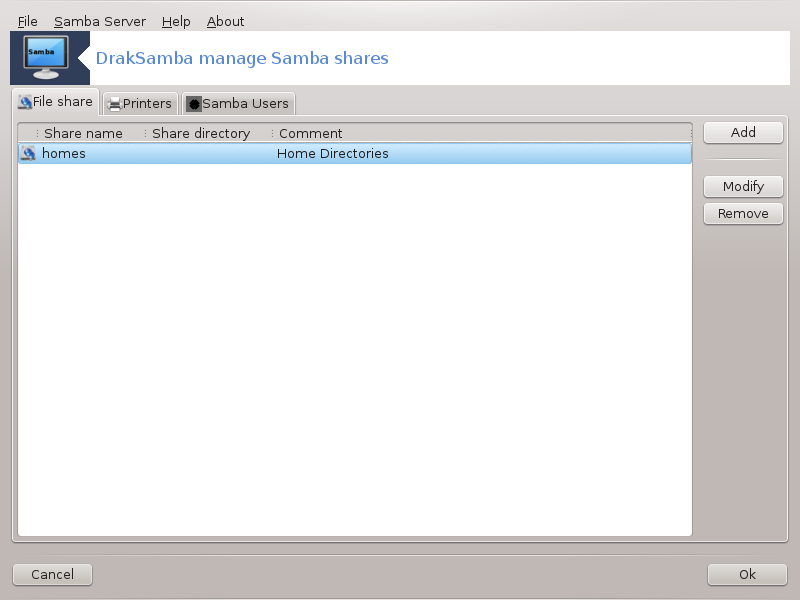
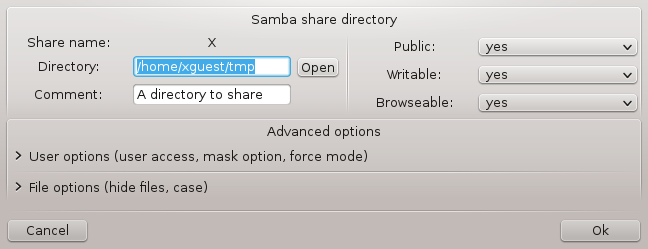
With the button, we get:
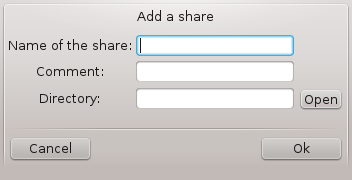
A new entry is thus added. It can be modified with the button. Options can be edited, such as whether the directory is visible to the public, writable or browseable. The share name can not be modified.
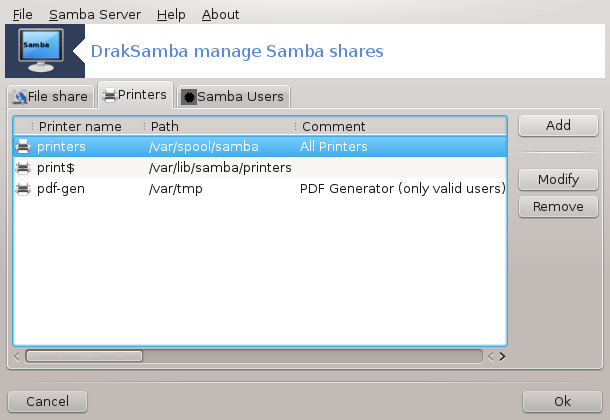
When the list has at least one entry, menu entries can be used.
File|Write conf. Salva l'attuale configurazione in /etc/samba/smb.conf.
Samba server|Configure. The wizard can be run again with this command.
Server Samba|Restart. The server is stopped and restarted with the current configuration files.
Servar Samba|Ricarica. The configuration displayed is reloaded from the current configuration files.
.
Questo strumento[37] ti consente di dichiarare alcune cartelle condivise come accessibili a tutti gli utenti sulla macchina. Il protocollo utilizzato é NFS, disponibile sulla maggior parte dei sistemi Linux e Unix. La cartella condivisa sarà quindi disponibile direttamente all'avvio. Le cartelle condivise possono essere anche accessibili direttamente in una singola sessione per un utente con strumenti quali i file browser.
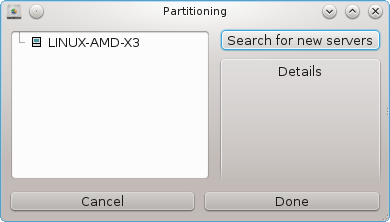
Seleziona per ottenere una lista dei server che condividono directory.
Clicca sul simbolo > prima del nome del server per visualizzare la lista delle directory condivise e seleziona la directory cui vuoi accedere.
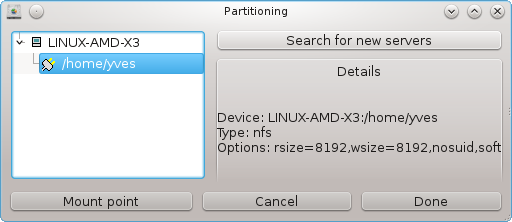
Il pulsante diventerà disponibile e dovrai specificare dove montare la directory.
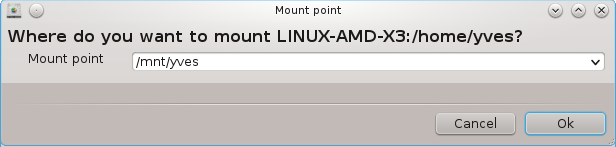
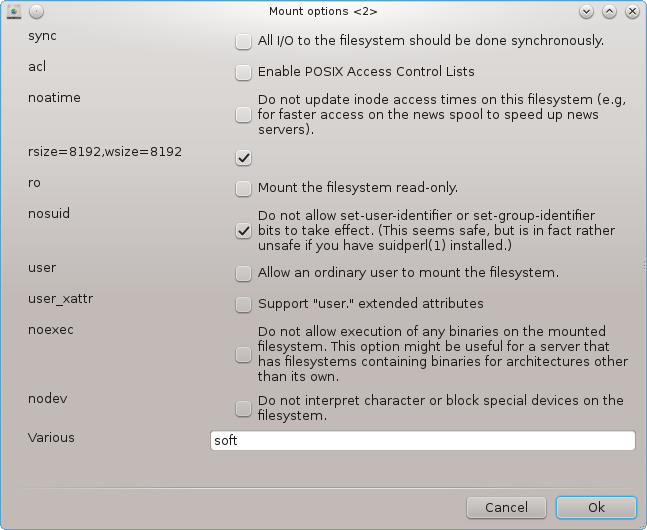
Dopo aver scelto il punto di mount, puoi montarlo. Puoi anche verificare e cambiare qualche opzione con il pulsante . Dopo aver montato la directory puoi smontarla usando lo stesso pulsante.
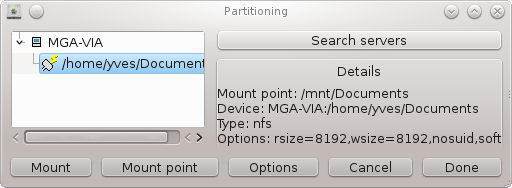
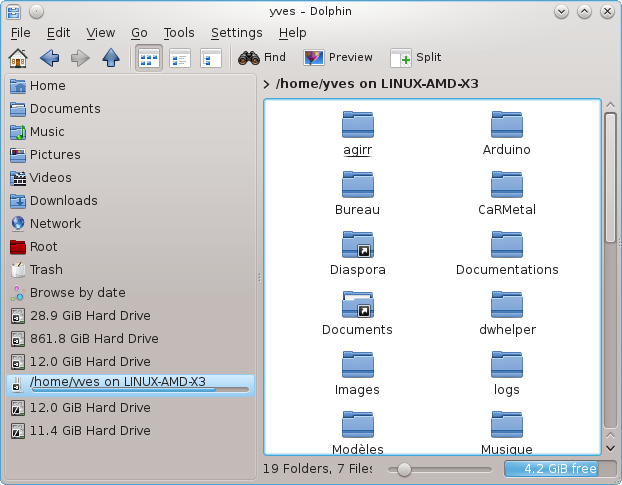
Accettando la configurazione con il pulsante , un messaggio verrà mostrato, domandando "Vuoi salvare le modifiche a /etc/fstab". Questo passaggio renderà la cartella disponibile ad ogni avvio, se la rete sarà accessibile. La nuova cartella sarà inoltre visibile nel tuo file browser, per esempio Dolphin.
When the wizard[38] is launched for the first time, it may display the following message:
Il pacchetto nfs-utils necessita di essere installato. Desideri installarlo?
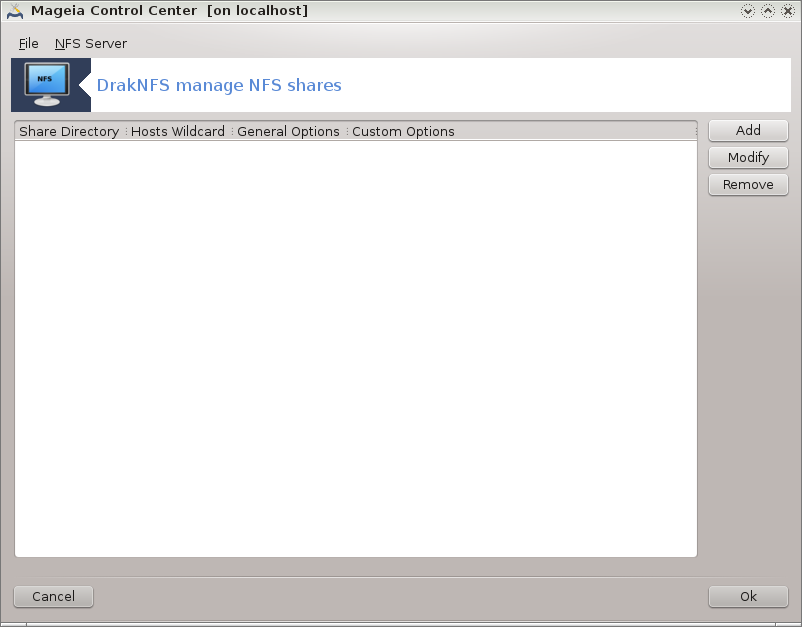
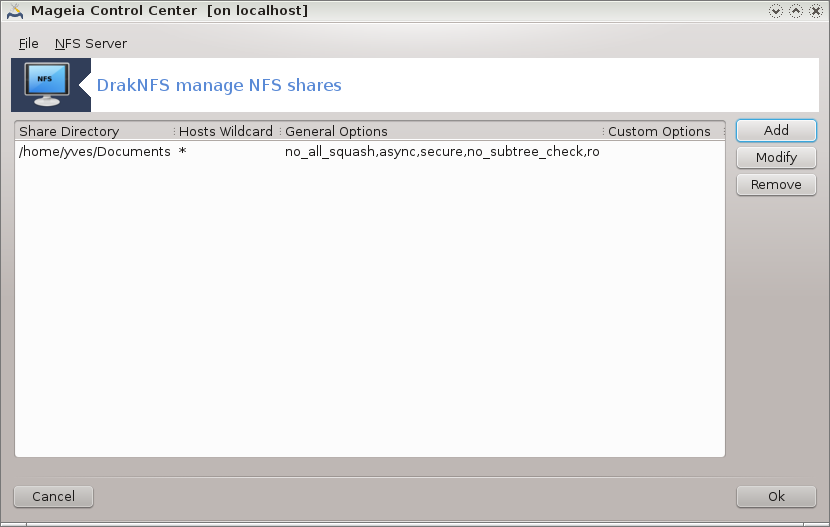
After completing the installation, a window with an empty list is displayed.
A list of directories which are shared is displayed. At this step, the list is empty. The button gives access to a configuration tool.
The configuration tool is labeled "Modify entry". It may be also launched with the button. The following parameters are available.
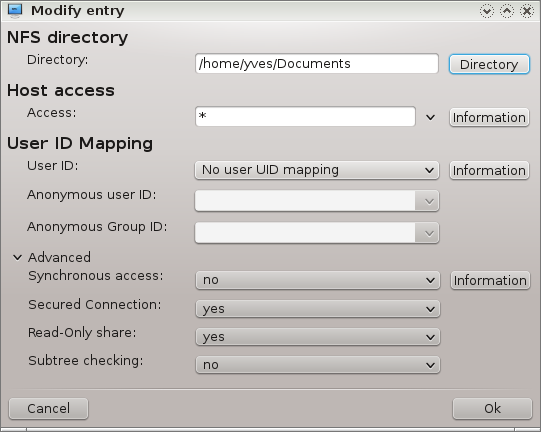
Here you can specify which directory is to be shared. The button gives access to a browser to choose it.
Here you can specify the hosts that are authorized to access the shared directory.
NFS clients may be specified in a number of ways:
single host: a host either by an abbreviated name recognized be the resolver, fully qualified domain name, or an IP address
netgroups: NIS netgroups may be given as @group.
wildcards: machine names may contain the wildcard characters * and ?. For instance: *.cs.foo.edu matches all hosts in the domain cs.foo.edu.
IP networks: you can also export directories to all hosts on an IP (sub-)network simultaneously. For example, either `/255.255.252.0' or `/22' appended to the network base address.
map root user as anonymous: maps requests from uid/gid 0 to the anonymous uid/gid (root_squash). The root user from the client cannot read or write to the files on the server which are created by root on the server itself.
allow real remote root access: turn off root squashing. This option is mainly useful for diskless clients (no_root_squash).
map all users to anonymous user: maps all uids and gids to the anonymous user (all_squash). Useful for NFS-exported public FTP directories, news spool directories, etc. The opposite option is no user UID mapping (no_all_squash), which is the default setting.
anonuid and anongid: explicitly set the uid and gid of the anonymous account.
Secured Connection: this option requires that requests originate on an internet port less than IPPORT_RESERVED (1024). This option is on by default.
Read-Only share: allow either only read or both read and write requests on this NFS volume. The default is to disallow any request which changes the filesystem. This can also be made explicit by using this option.
Synchronous access: prevents the NFS server from violating the NFS protocol and to reply to requests before any changes made by these requests have been committed to stable storage (e.g. disc drive).
Subtree checking: enable subtree checking which can help improve security in some cases, but can decrease reliability. See exports(5) man page for more details.
Questo strumento[39] lo trovi nel Centro di Controllo di Mageia, nel tab Condivisioni di rete, etichettato Configura condivisioni WebDAV.
WebDAV è un protocollo che consente di montare un directory di un server web localmente, così che questo appaia come una directory locale. E' necessario che la macchina remota abbia in esecuzione un server WebDAV. Lo scopo di questo strumento non è quello di configurare il server WebDAV.
La prima schermata dello strumento mostra le voci già configurate, se presenti, e un pulsante . Usalo per creare una nuova voce. Inserisci l'URL del server nel campo della nuova schermata.
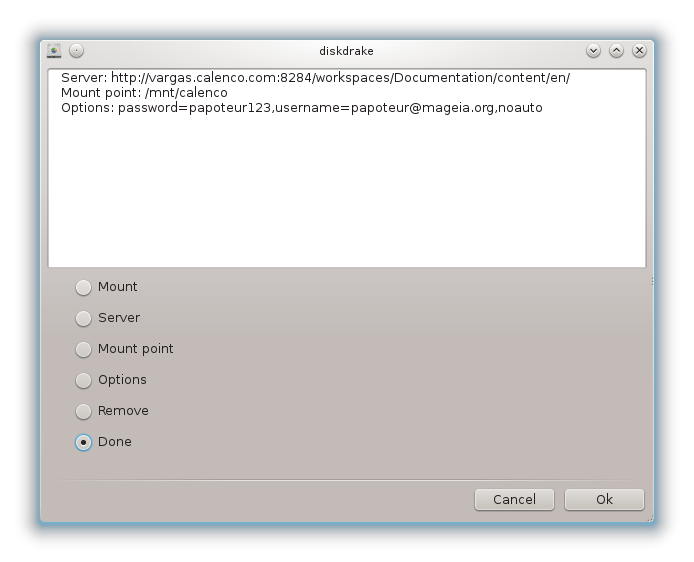
Raggiungerai quindi una schermata con alcuni pulsanti radio per selezionare alcune azioni. Continua con l'azione cliccando dopo aver selezionato il pulsante radio, in quanto il è già configurato. Potrai comunque correggerlo, se necessario.
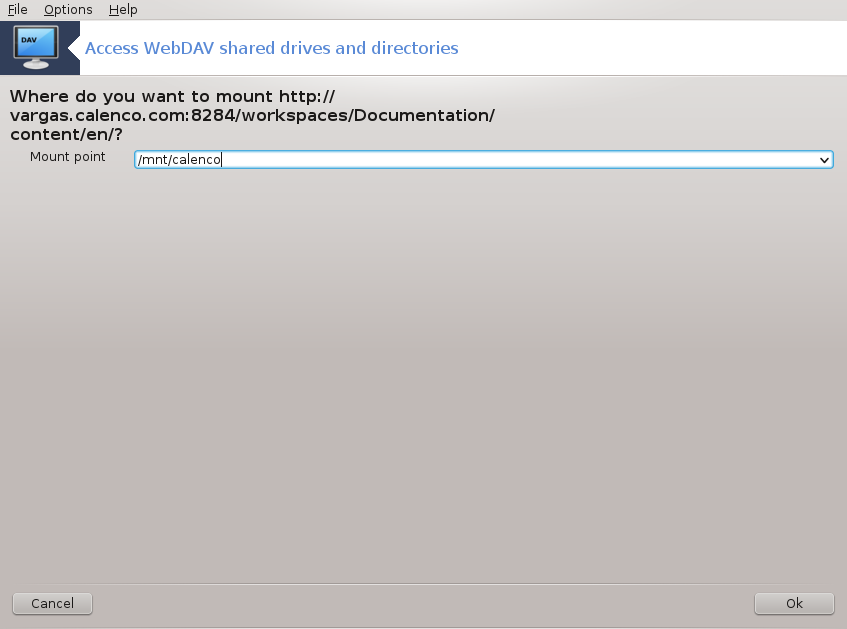
Il contenuto della directory remota risulterà accessibile tramite questo punto di montaggio.
Nella fase successiva, inserisci il tuo nome utente e la password. Se necessiti altre opzioni, puoi darle nella schermata .

L'opzione ti permette di montare immediatamente l'accesso.
Dopo aver accettato la configurazione con il pulsante radio , la prima schermata viene mostrata nuovamente ed il tuo nuovo punto di montaggio viene elencato. Dopo aver premuto , ti viene chiesto se salvare o non salvare le modifiche in /etc/fstab. Scegli questa opzione se vuoi che la directory remota sia disponibile ad ogni avvio. Se la tua configurazione vale per un solo utilizzo, non salvarla.
[35] Puoi avviare questo strumento da linea di comando digitando come root: diskdrake --smb
[36] You can start this tool from the command line, by typing draksambashare as root.
[37] Puoi avviare questo strumento dalla riga di comando digitando diskdrake --nfs come root.
[38] You can start this tool from the command line, by typing draknfs as root.
[39] Puoi avviare questo strumento dalla riga di comando, digitando diskdrake --dav come root.
