

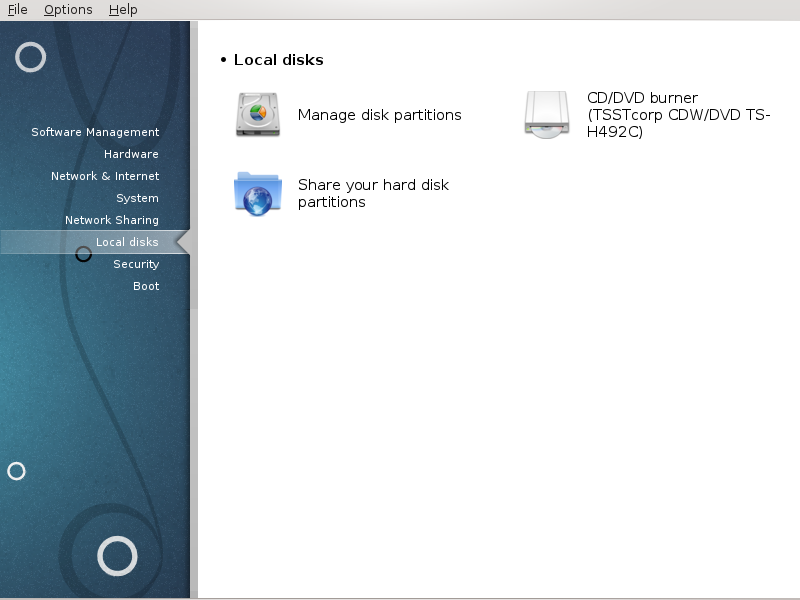
In questa schermata puoi scegliere tra diversi strumenti per gestire o condividere i tuoi dischi locali. Clicca sul link seguente per saperne di più.
Dischi locali

Avvertimento
This tool[40] is very powerful, a tiny error or a cat jumping on your keyboard can lead to losing all data on a partition or even to erasing the entire hard disk. For that reason, you'll see the screen above on top of the tool screen. Click on Exit if you're not sure you want to continue.
If you have more than one hard disk, you can switch to the hard disk you want to work on by selecting the correct tab (sda, sdb, sdc etc).
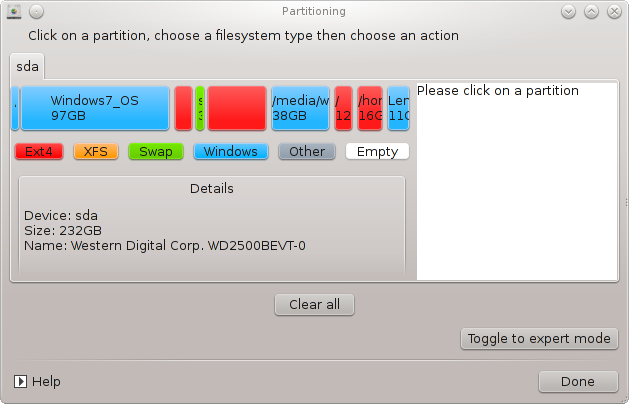
You can choose from many actions to adjust your hard disk to your preferences. Wiping an entire hard disk, splitting or merging partitions, resizing them or changing the filesystem, formatting or viewing what is in a partition: it is all possible. The button at the bottom is to erase the complete disk, the other buttons become visible on the right after you click on a partition.
Nota
If you have an UEFI system, you can see a small partition called "EFI System Partition" and mounted on /boot/EFI. Never delete it, because it contains all your different operating systems bootloaders.
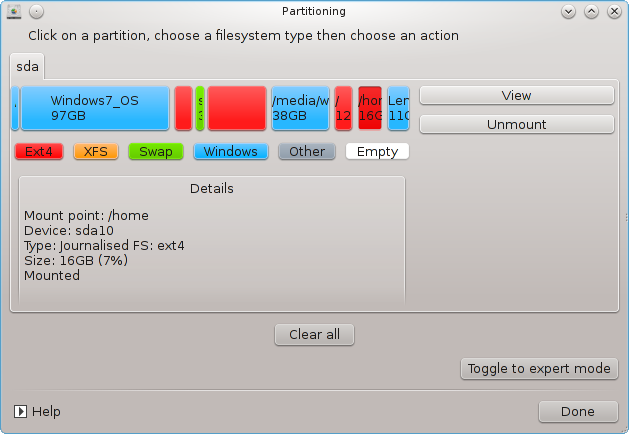
If the selected partition is mounted, like in the example below, you cannot choose to resize, format or delete it. To be able to do that the partition must be unmounted first.
It is only possible to resize a partition on its right side
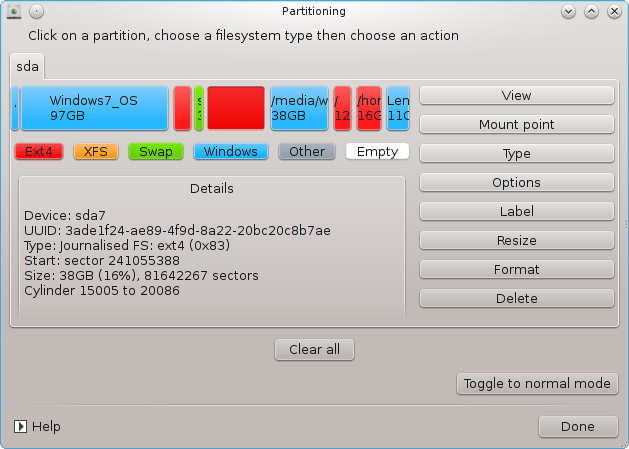
To change a partition type (change ext3 to ext4 for example) you have to delete the partition and then re-create it with the new type. The button appears when a disk empty part is selected
Puoi scegliere un punto di mount inesistente, verrà creato.
Selecting gives some extra available actions, like labeling the partition, as can be seen in the screenshot below.
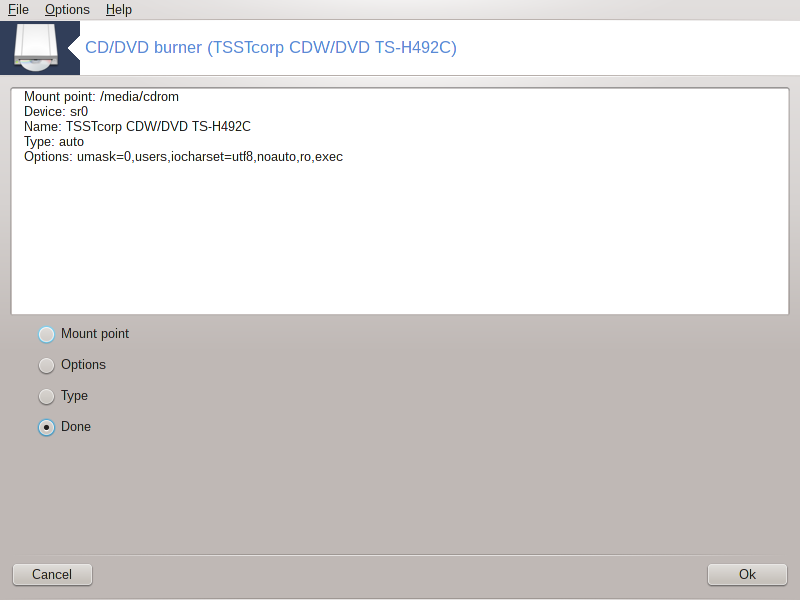
This tool [41]is found under the tab Local disks in the Mageia Control Center labelled accordingly with your removable hardware (CD/DVD players and burners and floppy drives only).
Il suo obiettivo è quello di definire il modo in cui il tuo disco rimovibile è montato.
At the top of the window there is a short description of your hardware and the chosen options to mount it. Use the menu on the bottom to change them. Check the item to be changed and then on the button.
Spunta questa casella per cambiare il punto di mount. Quello di default è /media/cdrom
Alcuni punti di mount possono essere scelti sia qui direttamente nella lista o via il sottomenù Avanzate. I principali sono:
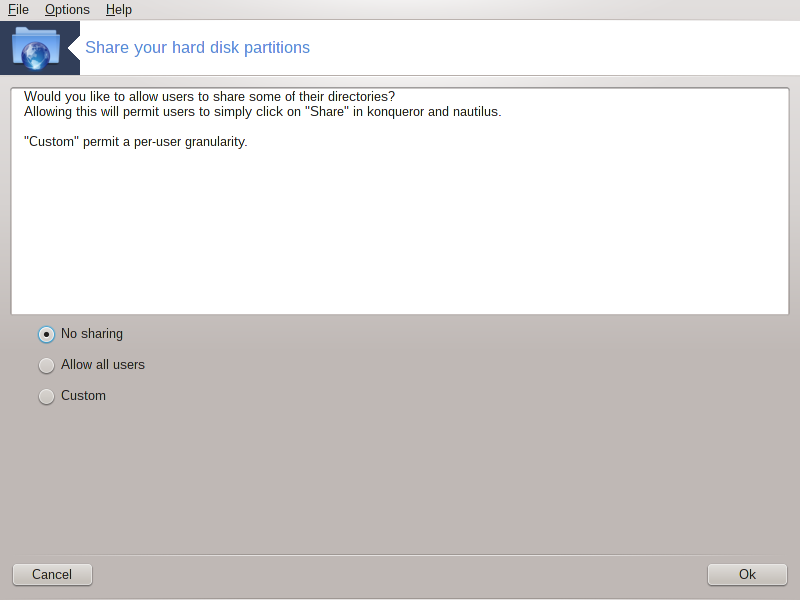
Questo semplice strumento[42] consente a te, amministratore, di autorizzare gli utenti a condividere parti delle proprie sottodirectory in /home con altri utenti della stessa rete locale che potrebbero avere computers su cui gira il sistema operativo Linux o Windows.
Si trova nel Centro di Controllo di Mageia, nella scheda Dischi Locali, etichettata "Condividi le partizioni del disco fisso".
Primo, rispondi alla domanda: "Vuoi consentire agli utenti di condividere alcune delle loro directory ?", clicca su se la risposta è no per tutti gli utenti, clicca su per tutti gli utenti e clicca su se la risposta è no per alcuni utenti e sì per altri. In questo ultimo caso, gli utenti che sono autorizzati a condividere le proprie directory devono appartenere al gruppo fileshare, che è automaticamente creato dal sistema. Verrai interrogato successivamente in merito a questo aspetto.
Clicca su OK, una seconda schermata apparirà proponendoti di scegliere tra o . Spunta se Linux è l'unico sistema operativo sulla rete, spunta se la rete include sia macchine Linux che macchine Windows e quindi clicca su . I pacchetti richiesti verranno installati se necessario.
La configurazione è ora completa a meno che non sia stata scelta l'opzione Personalizzato. In questo caso una schermata extra ti domanderà di avviare Userdrake. Questo strumento ti consente di aggiungere gli utenti autorizzati a condividere le loro directory al gruppo fileshare. Nella scheda Utente, clicca sull'utente per aggiungerlo al gruppo fileshare, quindi su , nella scheda Gruppi. Spunta il gruppo fileshare e clicca su . Per ulteriori informazioni su Userdrake, guarda la sezione chiamata «Utenti e gruppi»
Nota
Quando si aggiunge un nuovo utente al gruppo fileshare, devi disconnettere e riconnettere la rete affinché le modifiche vengano prese in considerazione.
D'ora in poi ogni utente appartenente al gruppo fileshare potrà selezionare nel suo gestore di file le directory da condividere, sebbene non tutti i gestori di file forniscono questa funzionalità.
