

Mageia is distributed via ISO images. This page will help you to choose which image match your needs.
There is two families of media:
Classical installer: After booting the media, it will follow a process allowing to choose what to install and how to configure your target system. This give you the maximal flexibility for a customized installation, in particular to choose which Desktop Environment you will install.
LIVE media: you can boot the media in a real Mageia system without installing it, to see what you will get after installation. The installation process is simpler, but you get lesser choices.
Details are given in the next sections.
Here, a medium (plural: media) is an ISO image file that allows you to install and/or update Mageia and by extension any physical support the ISO file is copied to.
You can find them here.
These ISOs use the traditional installer called drakx.
They are able to make a clean install or an update from previous releases.
Different media for 32 or 64 bit architectures.
Some tools are available in the Welcome screen: Rescue System, Memory Test, Hardware Detection Tool.
Each DVD contains many available desktop environments and languages.
You'll be given the choice during the installation to add non free software.
Can be used to preview the distribution without installing it on a HDD, and optionally install Mageia on to your HDD.
Each ISO contains only one desktop environment (Plasma, GNOME or Xfce).
Different media for 32 or 64 bit architectures.
Live ISOs can only be used to create clean installations, they cannot be used to upgrade from previous releases.
They contain non free software.
Each one is a small image that contains no more than that which is needed to start the drakx installer and find drakx-installer-stage2 and other packages that are needed to continue and complete the install. These packages may be on the PC hard disk, on a local drive, on a local network or on the Internet.
These media are very light (less than 100 MB) and are convenient when bandwidth is too low to download a full DVD, a PC without a DVD drive or a PC that can't boot from a USB stick.
Different media for 32 or 64 bit architectures.
English language only.
Contains only free software, for those people who prefer not to use non-free software.
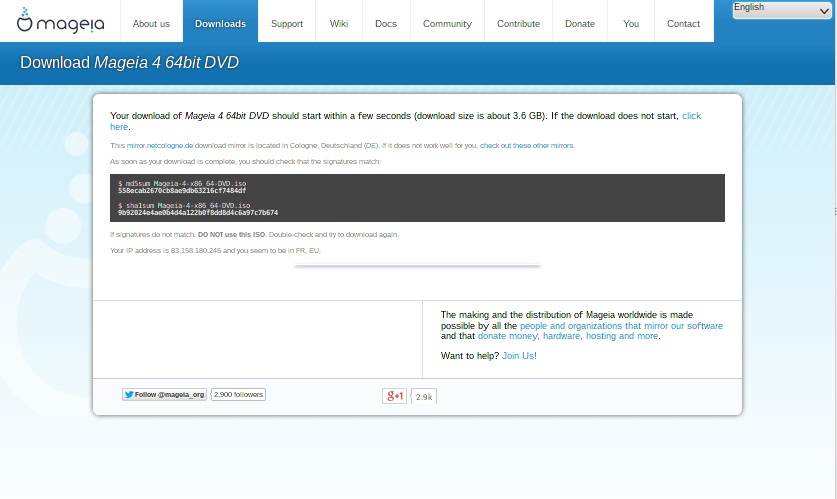
Once you have chosen your ISO file, you can download it using either http or BitTorrent. In both cases, a window gives you some information, such as the mirror in use and an opportunity to change if the bandwidth is to low. If http is chosen, you may also see something like
md5sum and sha1sum are tools to check the ISO integrity. Use only one of them. Keep one of them for further usage. Then a window similar to this one appears:
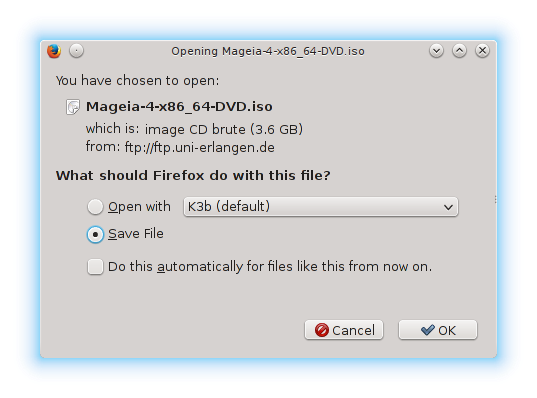
Check the radio button Save File.
Both checksums are hexadecimal numbers calculated by an algorithm from the file to be downloaded. When you ask these algorithms to recalculate this number from your downloaded file, either you have the same number and your downloaded file is correct, or the number is different and you have a failure. A failure infers that you should retry the download or attempt a repair using BitTorrent.
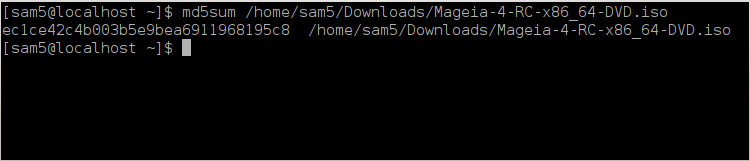
Open a console, no need to be root, and:
- To use md5sum, type: [sam@localhost]$ md5sum
path/to/the/image/file.iso.
- To use sha1sum, type: [sam@localhost]$ sha1sum
path/to/the/image/file.iso.
and compare the obtained number on your computer (you may have to wait for a while) with the number given by Mageia. Example:
The checked ISO can now be burned to a CD or DVD or dumped to a USB stick. These operations are not a simple copy and aim to make a bootable medium.
Use whatever burner you wish but ensure the burning device is set correctly to burn an image, burn data or files is not correct. There is more information in the Mageia wiki.
All Mageia ISOs are hybrids, which means you can 'dump' them to a USB stick and then use it to boot and install the system.
Warning
"Dumping" an image onto a flash device destroys any previous file-system on the device; any other data will be lost and the partition capacity will be reduced to the image size.
To recover the original capacity, you must redo partitioning and re-format the USB stick.
You can use a graphical tool like IsoDumper
You could try:
- Rufus using the "ISO image" option;
Warning
It is potentially *dangerous* to do this by hand. You risk to overwrite a disc partition if you get the device-ID wrong.
You can also use the dd tool in a console:
Open a console
Become root with the command
su -(don't forget the final '-' )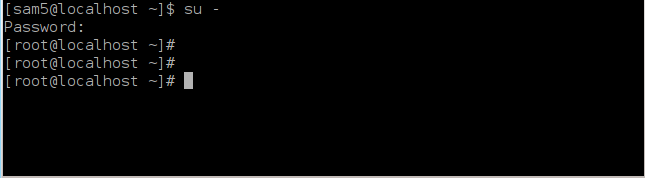
Plug in your USB stick (do not mount it, this also means do not open any application or file manager that could access or read it)
Enter the command
fdisk -l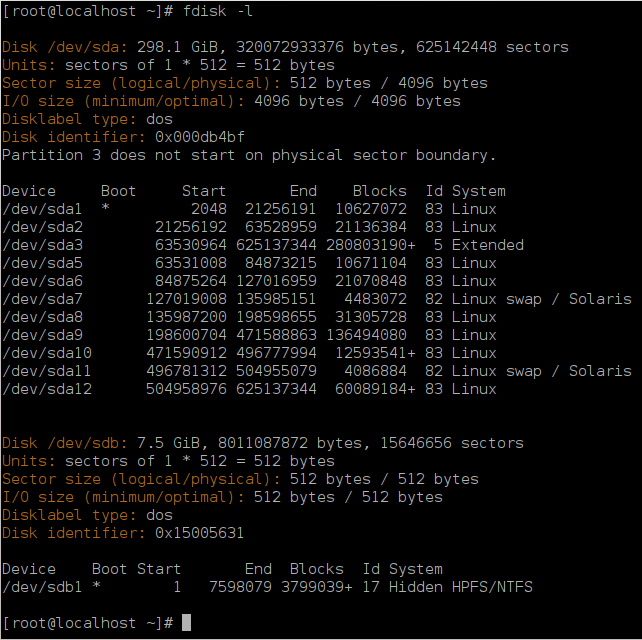
Alternatively, you can get the device name with the command
dmesg: at end, you see the device name starting with sd, and sdd in this case:[72594.604531] usb 1-1: new high-speed USB device number 27 using xhci_hcd [72594.770528] usb 1-1: New USB device found, idVendor=8564, idProduct=1000 [72594.770533] usb 1-1: New USB device strings: Mfr=1, Product=2, SerialNumber=3 [72594.770536] usb 1-1: Product: Mass Storage Device [72594.770537] usb 1-1: Manufacturer: JetFlash [72594.770539] usb 1-1: SerialNumber: 18MJTWLMPUCC3SSB [72594.770713] usb 1-1: ep 0x81 - rounding interval to 128 microframes, ep desc says 255 microframes [72594.770719] usb 1-1: ep 0x2 - rounding interval to 128 microframes, ep desc says 255 microframes [72594.771122] usb-storage 1-1:1.0: USB Mass Storage device detected [72594.772447] scsi host8: usb-storage 1-1:1.0 [72595.963238] scsi 8:0:0:0: Direct-Access JetFlash Transcend 2GB 1100 PQ: 0 ANSI: 4 [72595.963626] sd 8:0:0:0: [sdd] 4194304 512-byte logical blocks: (2.14 GB/2.00 GiB) [72595.964104] sd 8:0:0:0: [sdd] Write Protect is off [72595.964108] sd 8:0:0:0: [sdd] Mode Sense: 43 00 00 00 [72595.965025] sd 8:0:0:0: [sdd] No Caching mode page found [72595.965031] sd 8:0:0:0: [sdd] Assuming drive cache: write through [72595.967251] sdd: sdd1 [72595.969446] sd 8:0:0:0: [sdd] Attached SCSI removable diskFind the device name for your USB stick (by its size), for example
/dev/sdbin the screenshot above, it is a 8GB USB stick.Enter the command: #
dd if=path/to/the/ISO/file
            of=/dev/sdX bs=1M
Where X=your device name eg: /dev/sdc
Example: #
dd if=/home/user/Downloads/Mageia-6-x86_64-DVD.iso of=/dev/sdb bs=1MEnter the command: #
syncUnplug your USB stick, it is done
