

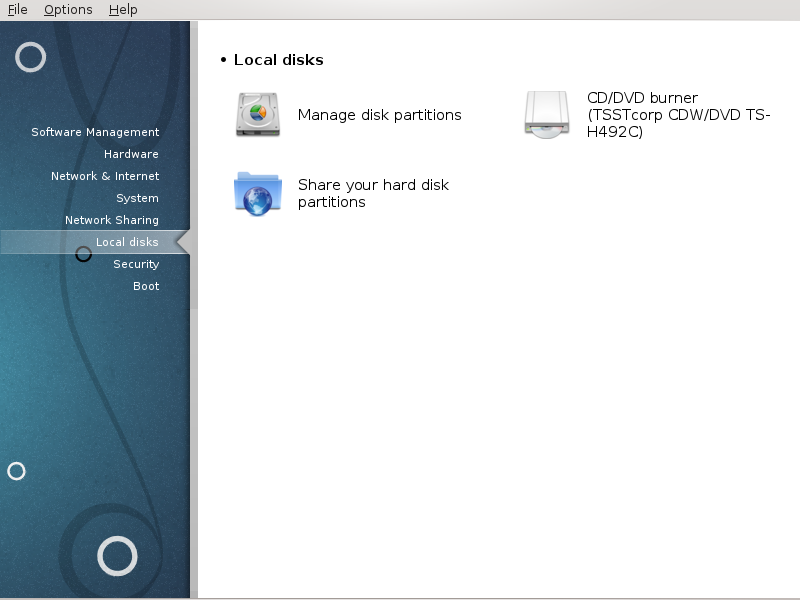
In this screen you can choose between several tools to manage or share your local disks. Click on a link below to learn more.
Dyski lokalne

Ostrzeżenie
This tool[40] is very powerful, a tiny error or a cat jumping on your keyboard can lead to losing all data on a partition or even to erasing the entire hard disk. For that reason, you'll see the screen above on top of the tool screen. Click on Exit if you're not sure you want to continue.
If you have more than one hard disk, you can switch to the hard disk you want to work on by selecting the correct tab (sda, sdb, sdc etc).
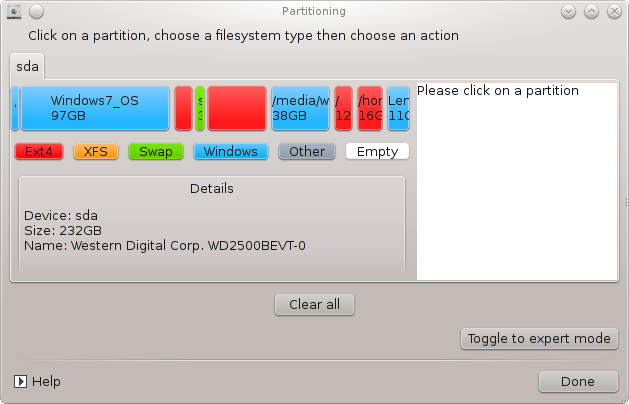
You can choose from many actions to adjust your hard disk to your preferences. Wiping an entire hard disk, splitting or merging partitions, resizing them or changing the filesystem, formatting or viewing what is in a partition: it is all possible. The button at the bottom is to erase the complete disk, the other buttons become visible on the right after you click on a partition.
Notatka
If you have an UEFI system, you can see a small partition called "EFI System Partition" and mounted on /boot/EFI. Never delete it, because it contains all your different operating systems bootloaders.
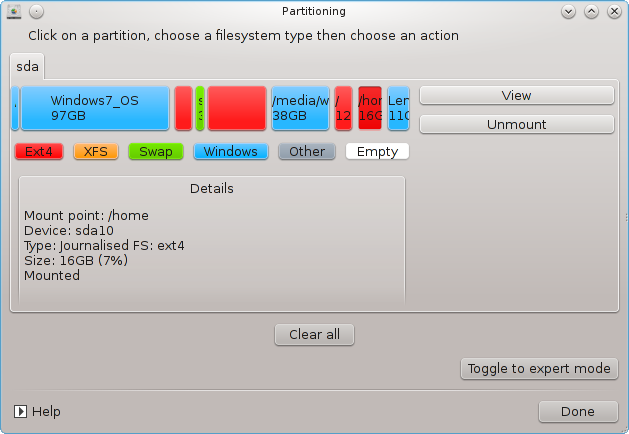
If the selected partition is mounted, like in the example below, you cannot choose to resize, format or delete it. To be able to do that the partition must be unmounted first.
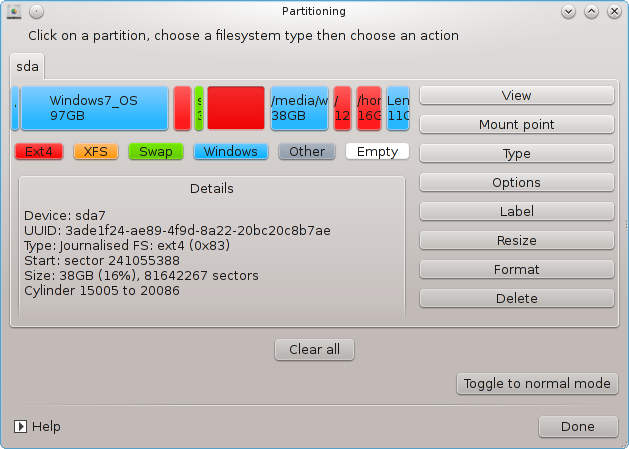
It is only possible to resize a partition on its right side
To change a partition type (change ext3 to ext4 for example) you have to delete the partition and then re-create it with the new type. The button appears when a disk empty part is selected
You can choose a mount point that doesn't exist, it will be created.
Selecting gives some extra available actions, like labeling the partition, as can be seen in the screenshot below.
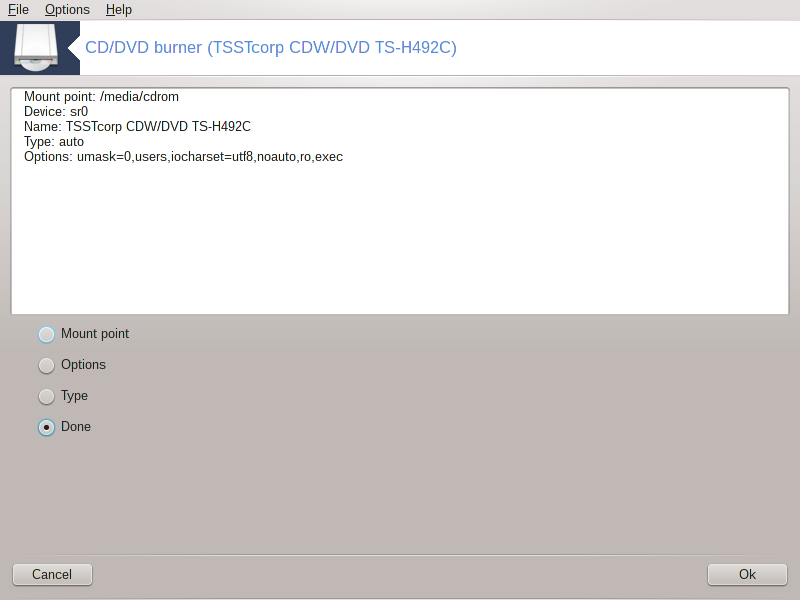
This tool [41]is found under the tab Local disks in the Mageia Control Center labelled accordingly with your removable hardware (CD/DVD players and burners and floppy drives only).
Its goal is to define the way your removable disk is mounted.
At the top of the window there is a short description of your hardware and the chosen options to mount it. Use the menu on the bottom to change them. Check the item to be changed and then on the button.
Many mount options can be chosen here either directly in the list or via the Advanced submenu. The main are:
Te proste narzędzie [42] pozwala ci, administratorowi aby uprawnić użytkowników do udostępniania części ich własnych podkatalogów /home z innymi użytkownikami tej samej sieci lokalnej, która może posiadać komputery działające na systemach Linux lub Windows.
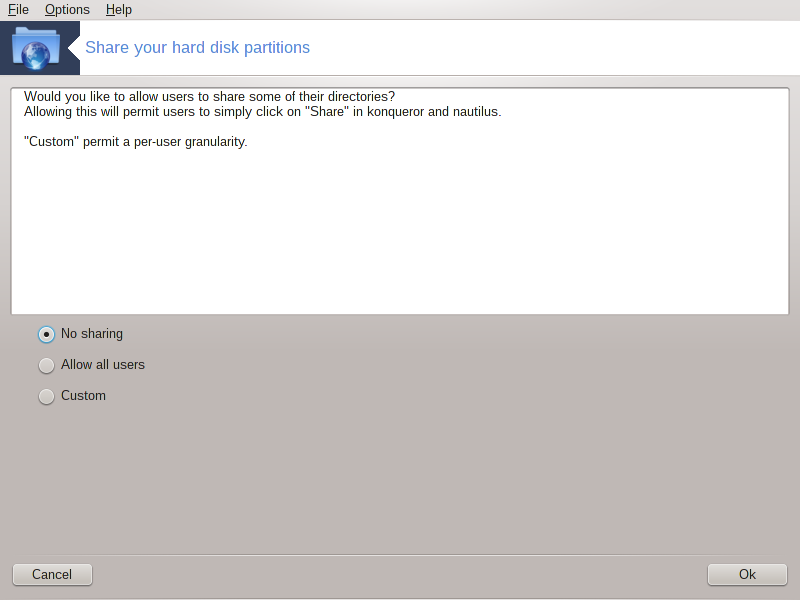
Znajduje się to w Centrum Sterowania Magei, pod sekcją Dysk Lokalny, nazwane "Udostępnij swoje partycje dysku twardego".
Najpierw odpowiedz na pytanie : " Czy chciałbyś pozwolić użytkownikom na udostępnianie części z ich katalogów? ", kliknij na jeśli odpowiedź to nie dla wszystkich użytkowników i kliknij na jeżeli odpowiedź to nie dla niektórych użytkowników i tak dla pozostałych. W ostatniej opcji użytkownicy którzy są autoryzowani do udostępniania ich katalogów muszą należeć do grupy fileshare, która jest automatycznie tworzona przez system. Będziesz zapytany o to później.
Kliknij na OK, pojawia się drugi ekran, który pyta cię o wybranie pomiędzy jeśli Linux jest jedynym systemem operacyjnym w sieci, sprawdź jeżeli sieć zawiera maszyny i z Linuksem i z Windowsem, a następnie kliknij na . Jeżeli jakakolwiek instalacja wymaganego pakietu jest potrzebna.
Konfiguracja jest kompletna jeśli opcja Własne została wybrana. W tym wypadku kolejny ekran przeniesie cię aby otworzyć Userdrake. Te narzędzie pozwoli ci dodać autoryzowanych użytkowników do udostępniania ich katalogów dla grupy fileshare. W sekcju Użytkownicy, kliknij na użytkownika i dodaj go do grupy fileshare, następnie w w sekcji Grupy. Sprawdź grupę fileshare i kliknij na . Aby uzyskać więcej informacji o Userdrake, zobacz „Użytkownicy i grupy”
Notatka
Kiedy nowy użytkownik dodawany jest do grupy fileshare, musisz rozłączyć i połączyć ponownie sieć aby modyfikacje zostały dodane do konta.
Od teraz każdy użytkownik należący do grupy fileshare może zaznaczyć w jego managerze plików katalogi to udostępnienia, jednak nie wszystkie managery plików posiadają taką opcję.
