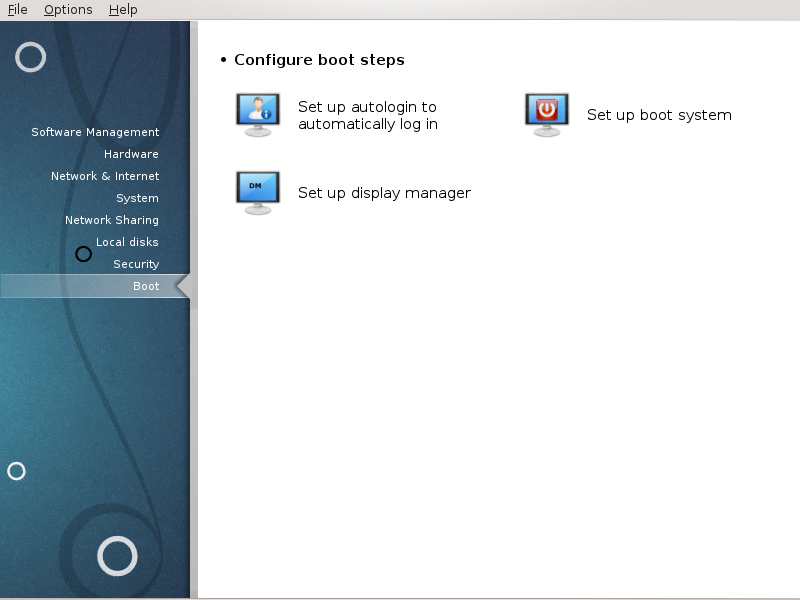
In this screen you can choose between several tools to configure your boot steps. Click on a link below to learn more.
Configure boot steps
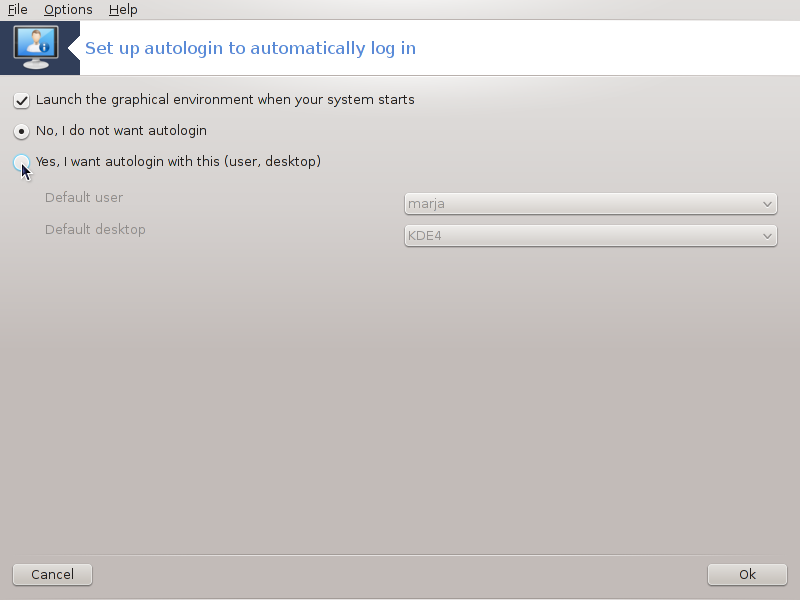
This tool[47] allows you to automatically login the same user, in her/his desktop environment, without asking for any password. It's called autologin. This is generally a good idea when there is only one user like to be using the machine.
It is found under the Boot tab in the Mageia Control Center labelled "Set up autologin to automatically log in".
The interface buttons are pretty obvious:
Check , if you want X Window System to be executed after the boot. If not, the system will start in text mode. Nevertheless, it will be possible to launch the graphic interface manually. This can be done by launching the command 'startx' or 'systemctl start dm'.
If the first box is checked, two other options are available, check either , if you want the system to continue to ask for which user to connect (and password) or check , if needed. In this case, you also need to supply the Default username and the Default desktop.
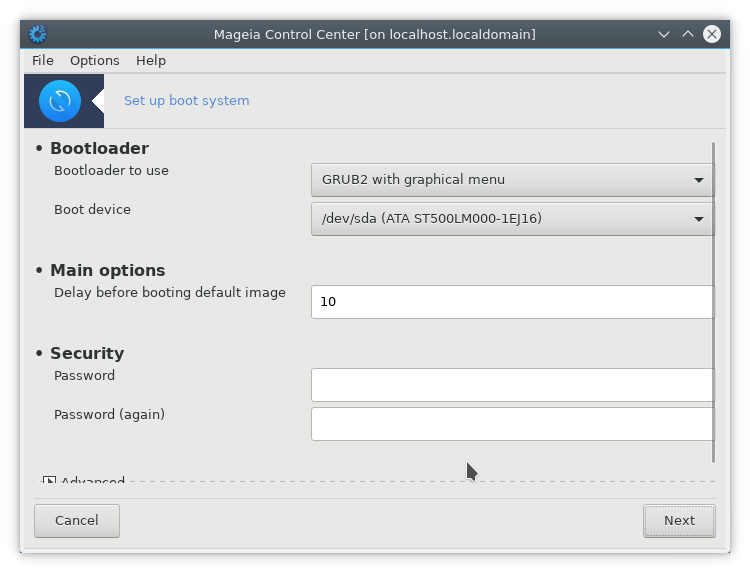
If you are using a UEFI system instead of BIOS, the user interface is slightly different as the boot device is obviously the EFI system Partition (ESP).
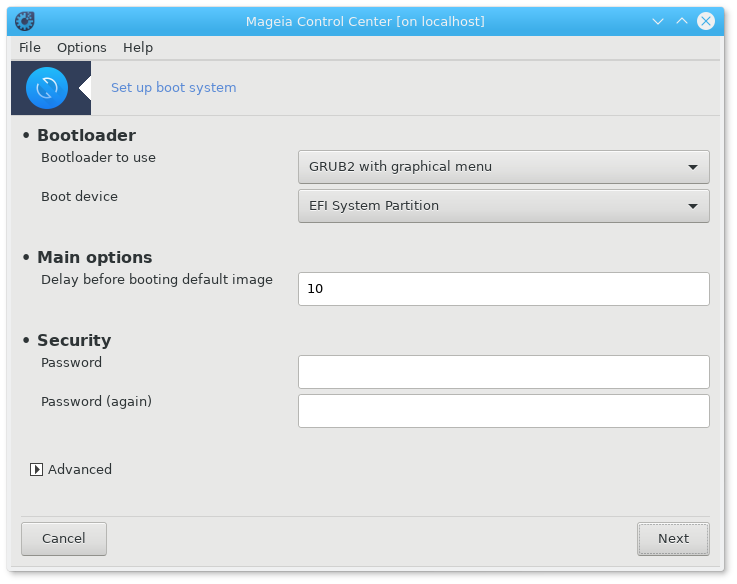
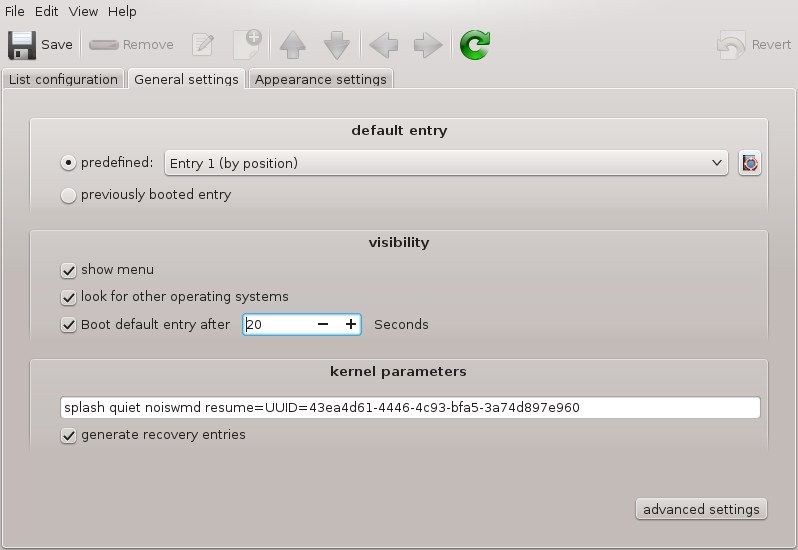
This tool[48] allows you to configure the boot options (choice of the bootloader, set a password, the default boot, etc.)
It is found under the Boot tab in the Mageia Control Center labeled "Set up boot system".
Warning
Don't use this tool if you don't know exactly what you are doing. Changing some settings may prevent your machine from booting again !
In the first part, called Bootloader, it is possible if using BIOS, to choose which , Grub, Grub2 or Lilo, and with a graphical or a text menu. It is just a question of taste, there are no other consequences. You can also set the , don't change anything here unless you are an expert. The boot device is where the bootloader is installed and any modification can prevent your machine from booting.
In a UEFI system, the bootloader is Grub2-efi and is installed in /boot/EFI partition. This FAT32 formatted partition is common to all operating systems installed.
In the second part, called Main options, you can set the , in seconds. During this delay, Grub or Lilo will display the list of available operating systems, prompting you to make your choice. If no selection is made, the bootloader will boot the default one once the delay elapses.
In the third and last part, called , it is possible to set a password for the bootloader. This means a username and password will be asked at the boot time to select a booting entry or change settings. The username is "root" and the password is the one chosen here.
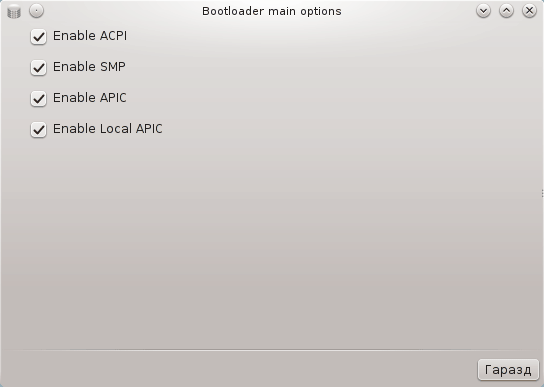
The button gives some extra options.
ACPI (Advanced Configuration and Power Interface) is a standard for the power management. It can save energy by stopping unused devices, this was the method used before APM. Check this box if your hardware is ACPI compatible.
SMP stands for Symmetric Multi Processors, it's an architecture for multicore processors.
Note
If you have a processor with HyperThreading, Mageia will see it as a dual processor and enable SMP.
and
APIC stands for Advanced Programmable Interrupt Controller. There are two components in the Intel APIC system, the local APIC (LAPIC) and the I/O APIC. The latter one routes the interrupts it receives from peripheral buses to one or more local APICs that are in the processor. It is really useful for multi-processor systems. Some computers have problems with the APIC system which can cause freezes or incorrect device detection (error message "spurious 8259A interrupt: IRQ7"). In this case, disable APIC and/or Local APIC.
The screen differs depending on which boot loader you chose.
You have Grub Legacy or Lilo:
In this case, you can see the list of all the available entries at boot time. The default one is asterisked. To change the order of the menu entries, click on the up or down arrows to move the selected item. If you click on the or buttons, a new window appears to add a new entry in the bootloader menu or to modify an existing one. You need to be familiar with Lilo or Grub to be able to use these tools.
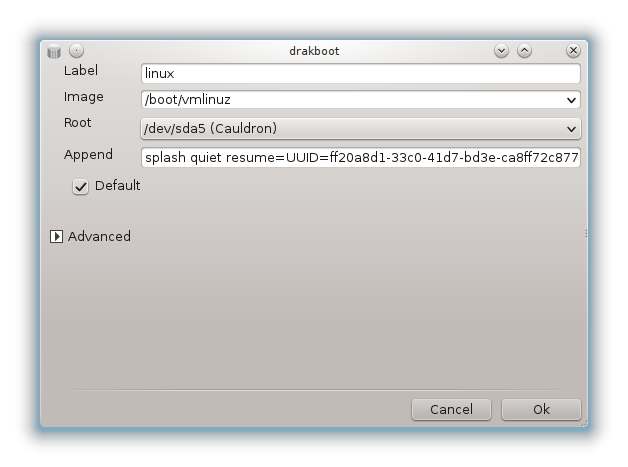
The Label field is freeform, write here what you want to be displayed in the menu. It matches the Grub command "title". For example: Mageia3.
The Image field contains the kernel name. It matches the Grub command "kernel". For example /boot/vmlinuz.
The Root field contains the device name where the kernel is stored. It matches the Grub command "root". For example (hd0,1).
The Append field contains the options to be given to the kernel at boot time.
If the box Default is checked, Grub will boot this entry by default.
In the extra screen called Advanced, it is possible to choose the Video mode, an initrd file and a network profile, see the section called “Manage different network profiles”, in the drop-down lists.
You have Grub2 or Grub2-efi (boot loaders used by default respectively in Legacy mode and UEFI mode):
In this case, the drop-down list labelled Default displays all the available entries; click on the one wanted as the default one.
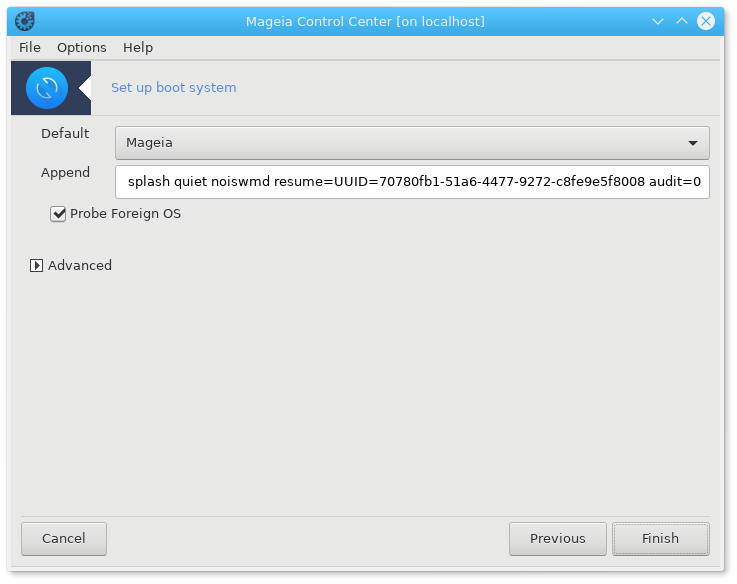
The Append field contains the options to be given to the kernel at boot time.
If you have other operating systems installed, Mageia attempts to add them to your Mageia boot menu. If you don't want this behaviour, uncheck the box Probe Foreign OS
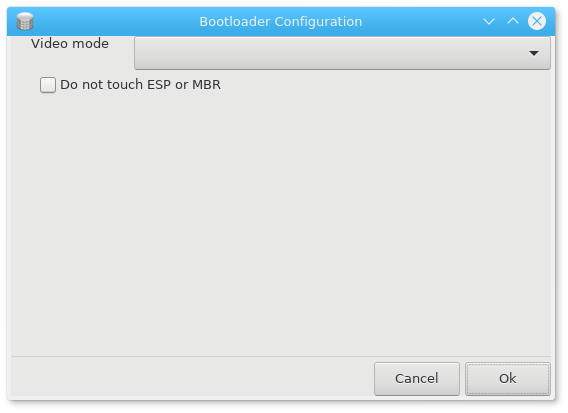
In the extra screen called Advanced, it is possible to choose the Video mode. If you don't want a bootable Mageia, but to chain load it from another OS, check the box Do not touch ESP or MBR and accept the warning.
Warning
Not installing on ESP or MBR means that the installation is not bootable unless chain loaded from another OS.
To set many other parameters, you can use the tool named Grub Customizer, available in the Mageia repositories (see below).
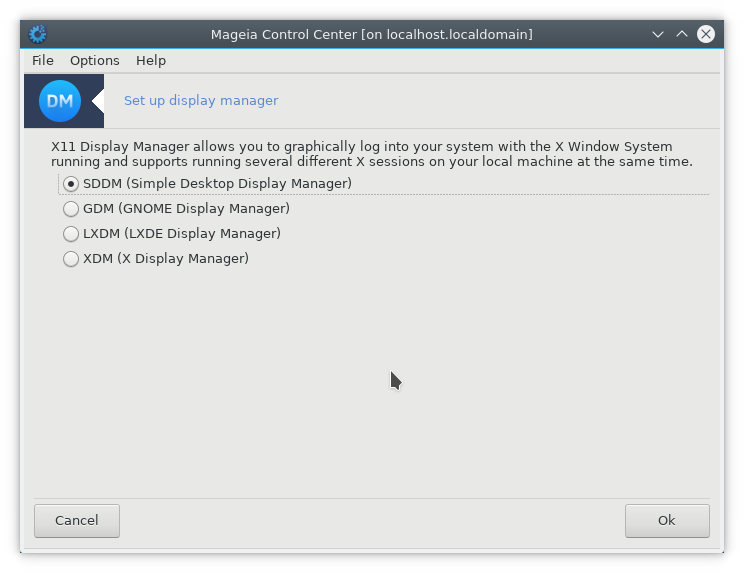
Here[49] you can choose which display manager to use to log into your desktop environment. Only the ones available on your system will be shown.
Most users will only notice that the provided login screens look different. However, there are differences in supported features, too. LXDM is a lightweight display manager, SDDM and GDM have more extras.


