Whether you are new to GNU-Linux or an experienced user, the Mageia Installer is designed to help make your installation or upgrade as easy as possible.
The install process is divided into a number of steps - the status of which is indicated in a panel to the left of the screen.
Each step has one or more screens, which may also have Advanced sections with extra, less commonly required options.
Most screens have Help buttons for further details about the particular step.
Opozorilo
If at some point during the install you decide to abort the installation, it is possible to reboot, but please think twice before you do this. Once a partition has been formatted or updates have started to be installed, your computer is no longer in the same state and rebooting it could very well leave you with an unusable system.
If, in spite of this, you are very sure rebooting is what you want, go to a text terminal by pressing the keys Ctrl+Alt+F2 together. After that, press Ctrl+Alt+Delete together to reboot.
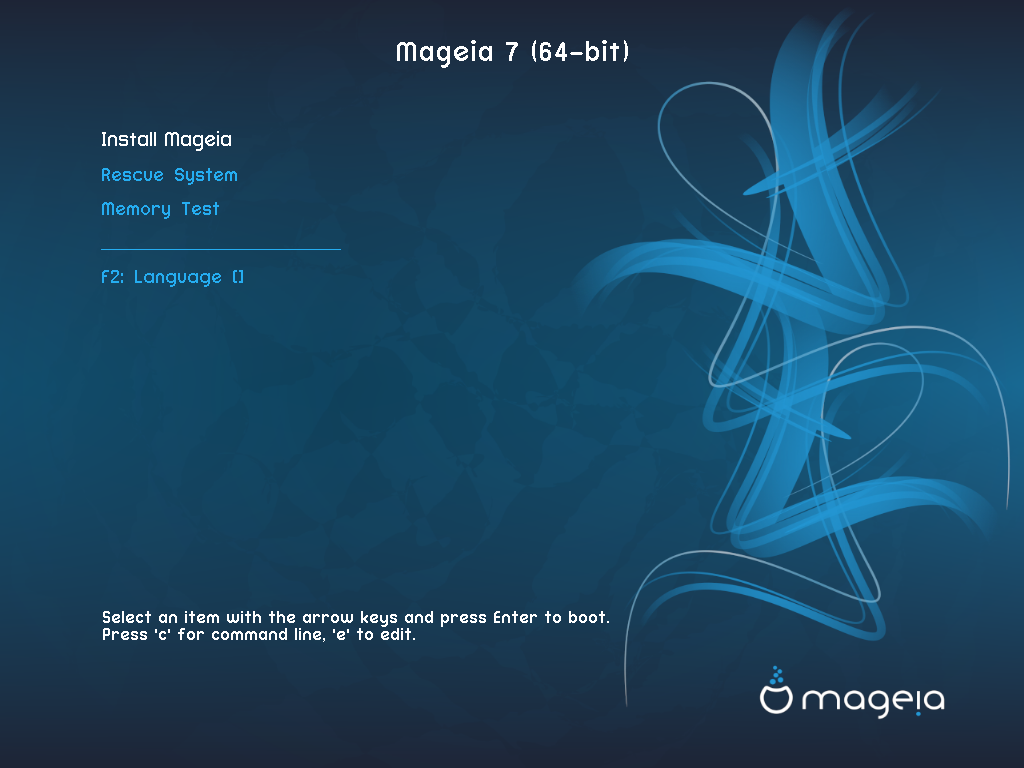
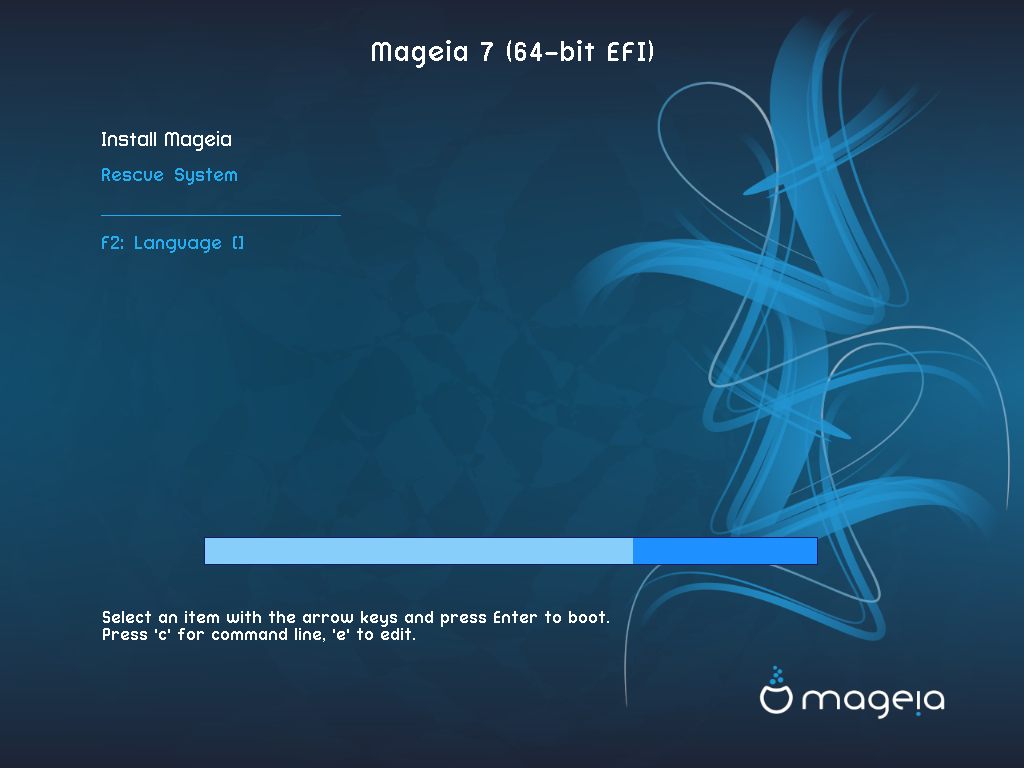
The particular screen that you will first see when booting from the Installation media will depend on whether your computer motherboard is of the Legacy (BIOS) or UEFI type.
The welcome menu screen has various options, however the default option will start the installer, and is normally all that you will need.

Menu
Install Mageia
Install Mageia to a hard disk. This is the default option, and will automatically start after a short while unless another option is selected.
Rescue System
This option allows you to either re-install the bootloader for an existing Mageia installation or you can use it to restore a Windows bootloader.
Memory Test
Test the installed RAM by performing multiple read and write operations. Reboot to end the test.
F2: Language
Press F2 for alternative languages.
From this screen, you can access options by pressing e to enter the edit mode. To come back to this screen, press Esc to quit without saving or press F10 to save and quit.

Menu
Install: Start the Install process
Rescue: This option allows you to either re-install the bootloader for an existing Mageia installation or you can use it to restore a Windows bootloader.
F2: Language: Press F2 for alternative languages.
If you booted from a USB stick, you will see the above options duplicated, and in this case, you should use the set that will be suffixed with "USB".
After the initial screen you did not progress to the Language Selection screen. This can happen with some graphic cards and older systems. Try using low resolution by typing vgalo at the prompt.
If the hardware is very old, a graphical installation may not be possible. In this case it is worth trying a text-mode installation. To use this press Esc at the Welcome screen and confirm with ENTER. You will be presented with a black screen with a
boot:prompt. Type text and press ENTER to continue with the installation in text mode.
If the system appeared to freeze during the installation, this may be a problem with hardware detection. In this case the automatic hardware detection may be bypassed and dealt with later. To try this, type noauto at the prompt. This option may also be combined with other parameters as necessary.
This will rarely be needed, but in some cases the hardware may report the
available RAM incorrectly. To specify this manually, you can use the
mem= parameter, where
xxxMxxx is the correct amount of
RAM. e.g. mem=256M would specify 256MB of RAM.
If you converted your hard disk from Basic format to
Dynamic format in Microsoft Windows, then it is not
possible to install Mageia on this disc. To revert to a
Basic disk, see the Microsoft documentation: http://msdn.microsoft.com/en-us/library/cc776315.aspx.


